The Homescreen is the center of the Celonis 4 application.
It provides access to all parts of the software and to all available Process Analysis.
Please Note
In the Enterprise Server Edition, different users may have different access rights on objects (Projects, Analysis Documents, Data Models).
For this reason, you will only see objects that you created or that you have been granted access.
Access rights for single objects and Projects are explained in the Data Scientist chapter.
The Homescreen is structured in the following parts:

Top Bar
Single-User Only!
The Top Bar as displayed in this screenshot is only available in the Single-User Edition.
The Enterprise-Server Edition's Top Bar is replaced by a small ![]() icon. Use this icon to get back to the Homescreen at any time!
icon. Use this icon to get back to the Homescreen at any time!
The Top Bar is visible in the whole Celonis Application.

 Go back to the previous screen
 Go to the previous screen, if you used the "Back" option.
 Use the home symbol to go back to the Homescreen.
 Refresh the current screen
Project Area
The Project Area shows all Projects.
As we already learned in the Structure chapter, Projects are global folders for Analysis Documents and their Datamodels, which can be further structured in folders and subfolders within a project.
To open any object in the Project Area, double-click on it.
To select an object (without opening it), single-click on it.
In the upper part of the Project Area, you will find a Search Field:

You can use it to search for any objects at any level in the Project Area.
Overview Bar
The Overview Bar will show details to the selected object:

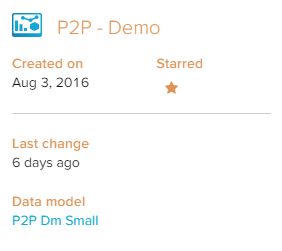

Sample Overviews of a Project (left), an Analysis Document (center) and a Data Model (right
For all objects, this view will show the Creation Date and the last time that anybody made changes to this document.
For Data Models and Analysis Documents, you will furthermore see the connections between the Analysis Documents and the Data Models.
In the Enterprise Server Edition, the Overview Bar is extended by a user management and a group management for each object:
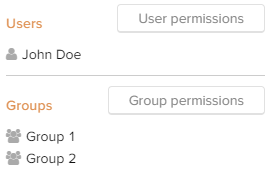
You can use "User permissions" and "Group permissions" to assign various rights on the selected object to different users.
More on that can be found in the Data Scientist chapter.
Toolbar
The Toolbar offers options to edit the selected object.

![]()
Toolbar options for Projects (left) and Analysis Documents/Data Models (right)
Edit allows you to change the name of the selected object, and to assign a new Data Model to your Analysis Document.
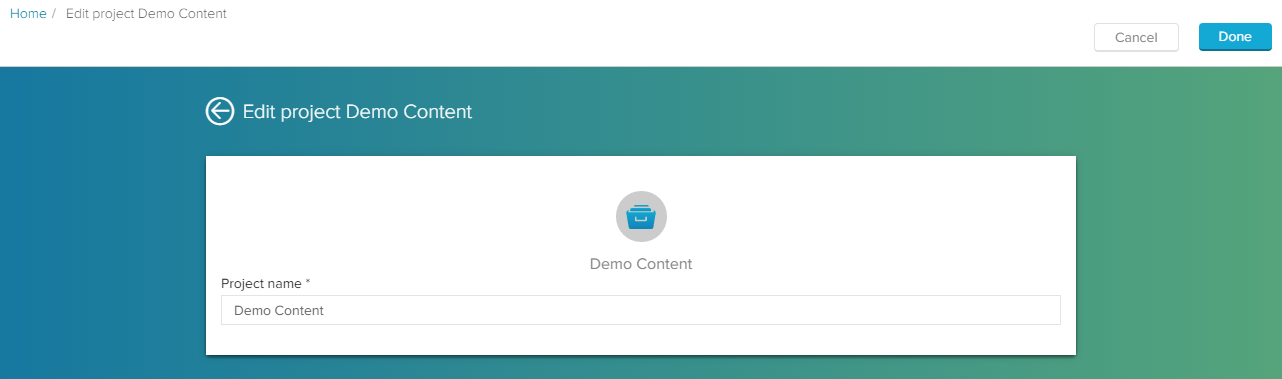 Assign a new name to your Project or your Data Model.
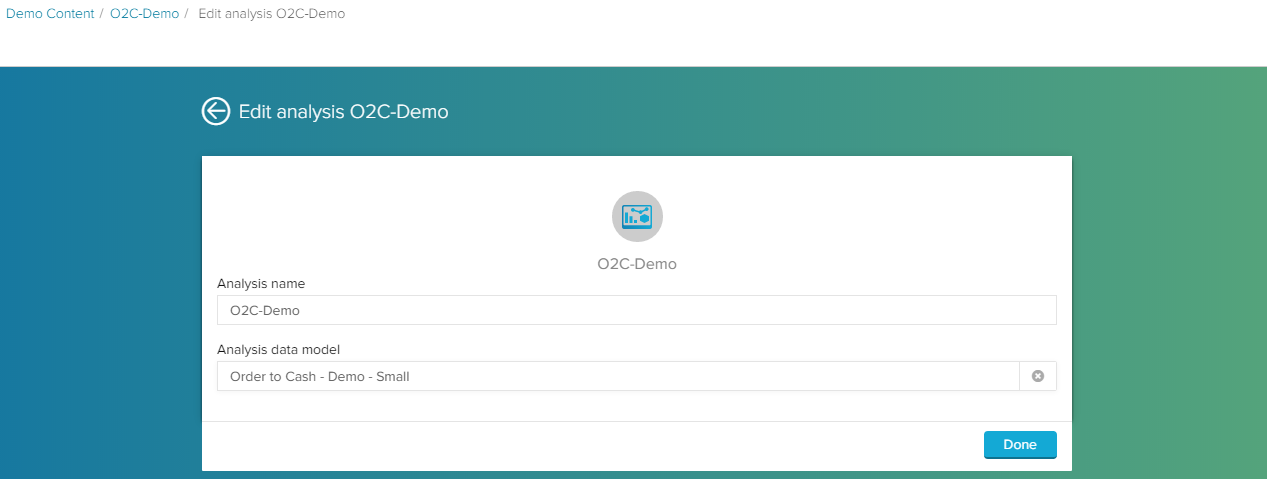 Assign a new name and/or a new Data Model to your Analysis Document.
Confirm your changes with  .
.
Use Delete to permanently remove the selected object from the Celonis 4 application.
Attention
You can't recover a single object after it has been deleted.
You will be asked once again before the object will be deleted. This is to prevent unintended deletions.

Confirm with  .
.
Navigation Bar
The Navigation Bar includes all available Projects in its upper part.
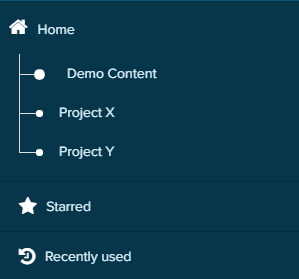
This allows you to quickly open another project at any time in the Homescreen.
The  function allows you to highlight any object, using the Overview Bar.
Just click on the ![]() option, which will mark the object as Starred (
option, which will mark the object as Starred (![]() ), and put a link to this object in this Starred Section.
), and put a link to this object in this Starred Section.
The  section features all objects across all available Projects, that you have been used (opened or edited) recently.